
 then 'Add to home screen'
 then 'Add to home screen'
Custom PC Building Guide
Introduction
In the rapidly evolving world of technology, owning a computer that meets your precise needs has become paramount. While pre-built machines offer various options, building a custom PC grants you unparalleled freedom in component selection, maximizing performance for your budget, and tailoring the machine to your unique uses, whether for gaming, graphic design, video editing, or even daily office tasks. This guide aims to provide you with the knowledge and steps necessary to assemble your own computer from scratch, ensuring a rewarding building experience and satisfactory results.
Why choose to build a custom PC?
•Complete Control: You can choose every component based on your needs and budget, ensuring you don’t pay for features you don’t need or compromise on performance you desire.
•Better Performance for the Price: You often get better performance for your money when building your own PC compared to buying a pre-built one with similar specifications.
•Upgradeability: Custom-built PCs are easier to upgrade, as you can replace individual components like the graphics card or memory without needing to buy an entirely new machine.
•Learning and Knowledge: Assembling your own computer gives you a deep understanding of how different components work and interact with each other.
•Aesthetic Customization: You can choose the PC case, lighting, and cable management to create a machine that reflects your personal taste.
Regardless of your experience level, this guide will walk you through step-by-step, from component selection to final assembly, empowering you to build your dream machine.
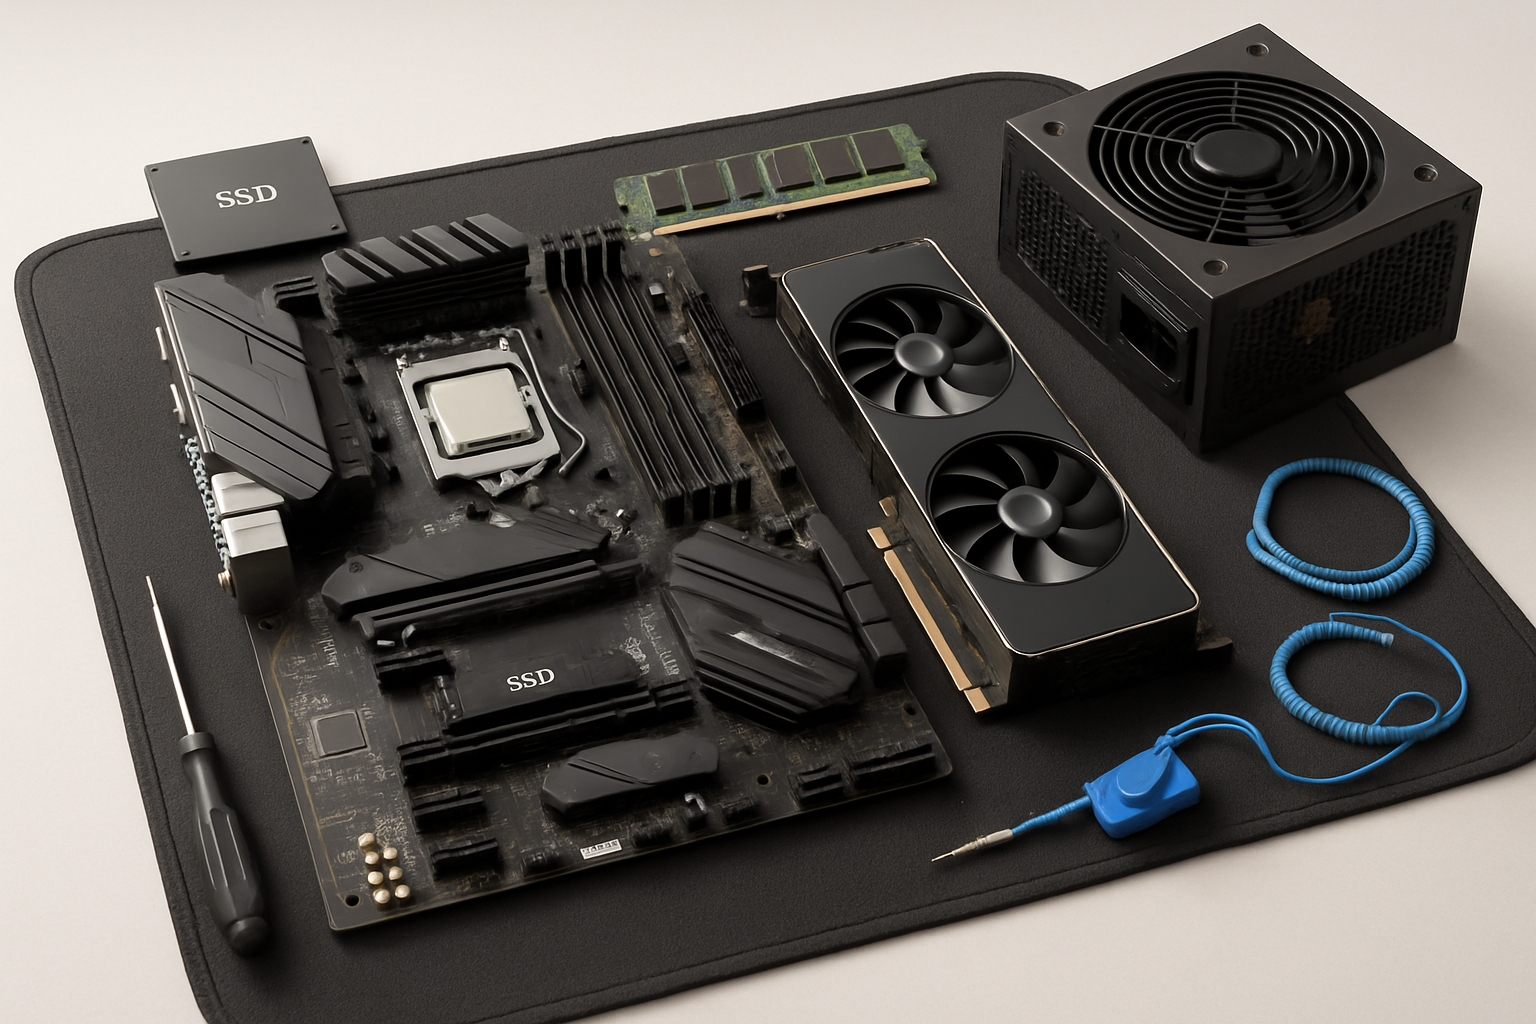
Essential Components for a Custom PC
Before starting the assembly, it’s crucial to understand the basic components of any computer and how to choose the most suitable ones for your needs:
1. Central Processing Unit (CPU)
The Central Processing Unit (CPU) is considered the brain of the computer. It is responsible for executing instructions and performing calculations. The two main providers of CPUs are Intel and AMD. When choosing, consider the number of cores, clock speed, and cache memory.
2. Motherboard
The motherboard is the backbone of the computer, connecting all components. It must be compatible with your chosen CPU (socket type) and have enough slots for RAM and expansion slots (PCIe) for the graphics card and other cards.
3. Graphics Processing Unit (GPU) / Graphics Card
If you plan on gaming, graphic design, or video editing, the Graphics Processing Unit (GPU) is one of the most important components. The power of the graphics card determines how smoothly games and graphic applications run. The two main providers are NVIDIA and AMD.
4. Random Access Memory (RAM)
Random Access Memory (RAM) is short-term memory used by the computer to store frequently accessed data. The more RAM capacity, the greater the computer’s ability to handle multiple tasks and run resource-intensive applications smoothly.
5. Storage Unit
There are two main types of storage units: Hard Disk Drives (HDD) and Solid State Drives (SSD). SSDs are much faster and provide better overall system performance, while HDDs offer larger storage capacity at a lower cost. It is preferable to use a combination of both: SSD for the operating system and essential applications, and HDD for storing large files.
6. Power Supply Unit (PSU)
The Power Supply Unit (PSU) is responsible for providing power to all computer components. You must choose a PSU with sufficient wattage to meet the needs of all components, taking into account any potential future upgrades.
7. Computer Case
The computer case is not just a cover for components; it affects airflow and cooling, provides enough space for components, and determines the aesthetic appearance of your device. Choose a case that is appropriately sized for your components and provides good ventilation.
Steps to Assemble a Computer
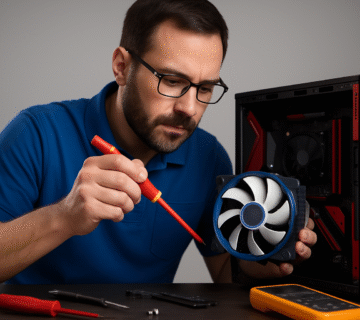
After gathering all the components, it’s time to start the assembly process. Make sure you have a clean and organized workspace, and it’s preferable to use an anti-static mat or an anti-static wrist strap to avoid damaging components.
1. Prepare the Motherboard
•Install the Central Processing Unit (CPU): Open the CPU socket lever on the motherboard, and match the golden triangle on the CPU with the triangle on the socket. Gently place the CPU into the socket and close the lever to secure it.
•Install the Cooler: If your CPU cooler requires it, install it now. You may need to apply thermal paste if it’s not pre-applied to the cooler.
•Install Random Access Memory (RAM): Open the clips of the memory slots on the motherboard, and gently push the memory modules until you hear a click and the clips close.
•Install M.2 SSDs (if any): If you have M.2 SSDs, install them in the dedicated slots on the motherboard.
2. Install the Motherboard in the Computer Case
•Install the I/O Shield: If your computer case does not have a built-in I/O shield, install it in the back opening of the case.
•Install the Motherboard: Carefully place the motherboard inside the computer case, ensuring that the screw holes align with the standoffs in the case. Secure the motherboard with the appropriate screws.
3. Install the Power Supply Unit (PSU)
Install the power supply unit in its designated place inside the computer case, usually at the bottom or top of the case. Secure it with screws and route the cables to where they will connect to other components.
4. Install the Graphics Processing Unit (GPU)
•Open the PCIe slot clip on the motherboard (usually the top slot).
•Remove the metal covers from the back of the case opposite the PCIe slot.
•Gently insert the graphics card into the slot until it is seated and the clips close.
•Secure the graphics card with screws in the computer case.
5. Connect Cables
This step requires precision and patience. Connect all necessary cables:
•Power Cables: Connect power cables from the power supply unit to the motherboard (24-pin and 8-pin CPU), graphics card, storage units, and fans.
•Data Cables: Connect SATA cables to storage units and the motherboard.
•Front Panel Cables: Connect the front panel cables of the case (USB, audio, power and reset buttons, LED indicators) to the motherboard. Refer to the motherboard manual for correct connections.
6. Cable Management
Cable management is crucial for good airflow and a clean appearance inside the case. Use zip ties to organize cables and route them away from the airflow path.
7. Initial Setup and Software
•Initial Boot: After assembling everything, connect the monitor, keyboard, and mouse. Turn on the computer. If everything is done correctly, you will see the BIOS/UEFI screen.
•Install Operating System: Install your preferred operating system (such as Windows or Linux) from a bootable USB drive.
•Install Drivers: After installing the operating system, install all necessary drivers for the components (motherboard, graphics card, etc.) from the manufacturers’ websites.
•Updates: Update the operating system and all software to ensure optimal performance and security.
Additional Tips
•Don’t Rush: Take your time with each step. Rushing can lead to costly mistakes.
•Consult Manuals: Read your component manuals carefully. They contain important information about installation and compatibility.
•Watch Videos: There are many excellent tutorial videos on YouTube that demonstrate the PC assembly process step-by-step.
•Test Before Final Installation: Before fully closing the computer case, power on the computer and test it to ensure everything is working correctly.
•Check Compatibility: Use tools like PCPartPicker to check the compatibility of all components before purchasing.
Conclusion
Building a custom PC is a rewarding experience that gives you a powerful machine tailored to your needs. By following this guide, you can confidently build your own computer and enjoy the superior performance and customization that pre-built machines cannot offer. Congratulations on your new machine!


لا تعليق